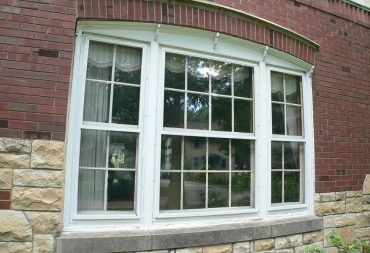
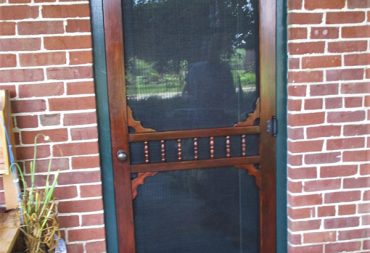
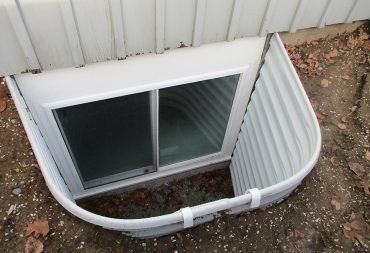
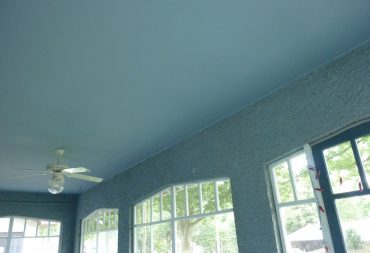
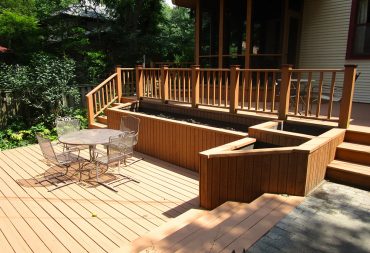
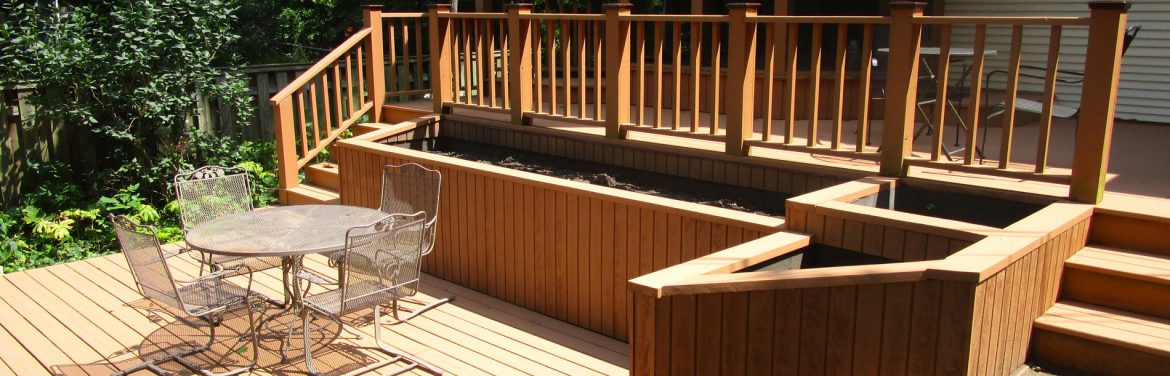
The issues in this room were twofold: water damage on the ceiling resulting in cracks and peeling paint, and the fact that previous peeling paint had been painted over without patching. You can see a little of both in this picture.
Preparing the area for patching
The first step involves opening up all the cracks and beveling the sides to make patching easier. All loose paint is scraped off; if you try to patch over it, the patch will fail.
Ceiling with bonder
After removing anything that is loose, bonder and mesh tape are applied for added strength, and to keep the cracks from opening back up.
Mudded ceiling patch
Two to three coats of drywall mud are applied, depending on the size of the patch. This ceiling needed extensive mudding to fill in the areas with chipped paint.
Mudded ceiling patch
Damaged wall near vent
The process is the same for the walls. Frequently, cracks radiate out from windows and doors. In this photo, the cracks have been opened, loose paint removed, and bonder applied.
Mud on patch near vent
Finished and primed patch
Damaged wall near electrical outlet
Finished and primed patch
Smooth, primed, paint-ready ceiling and walls
After the mud dries, eveything is sanded smooth, touched up if necessary, and primed. In this case, the homeowners will be painting the room themselves.