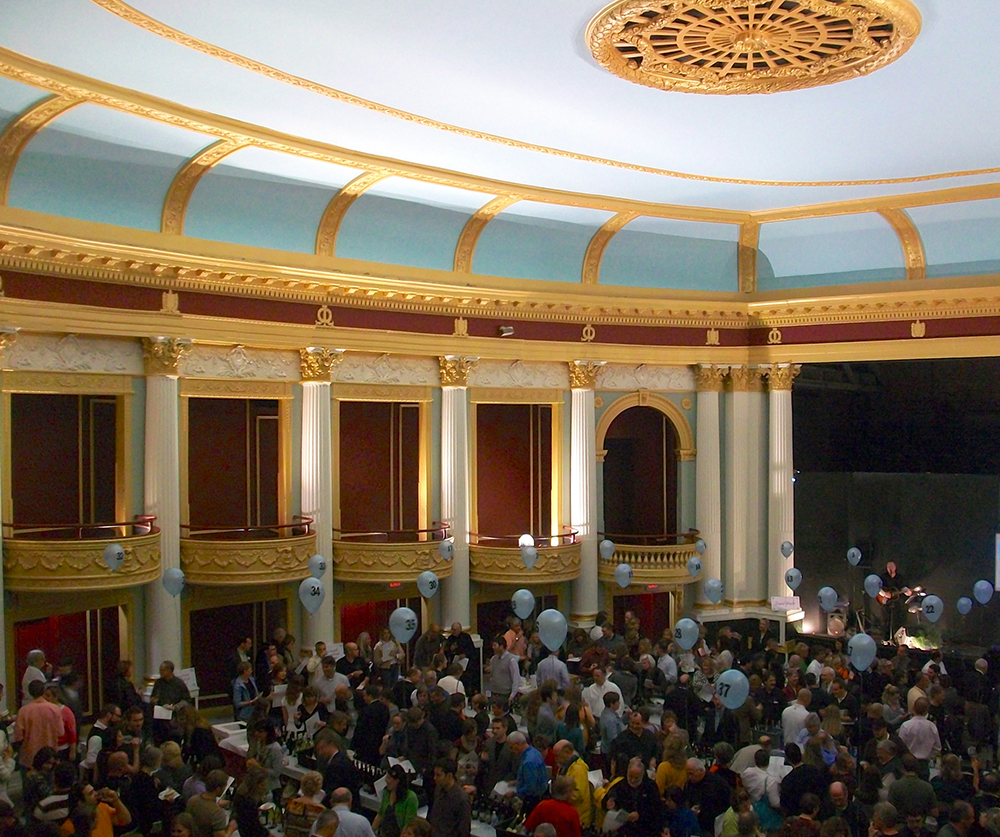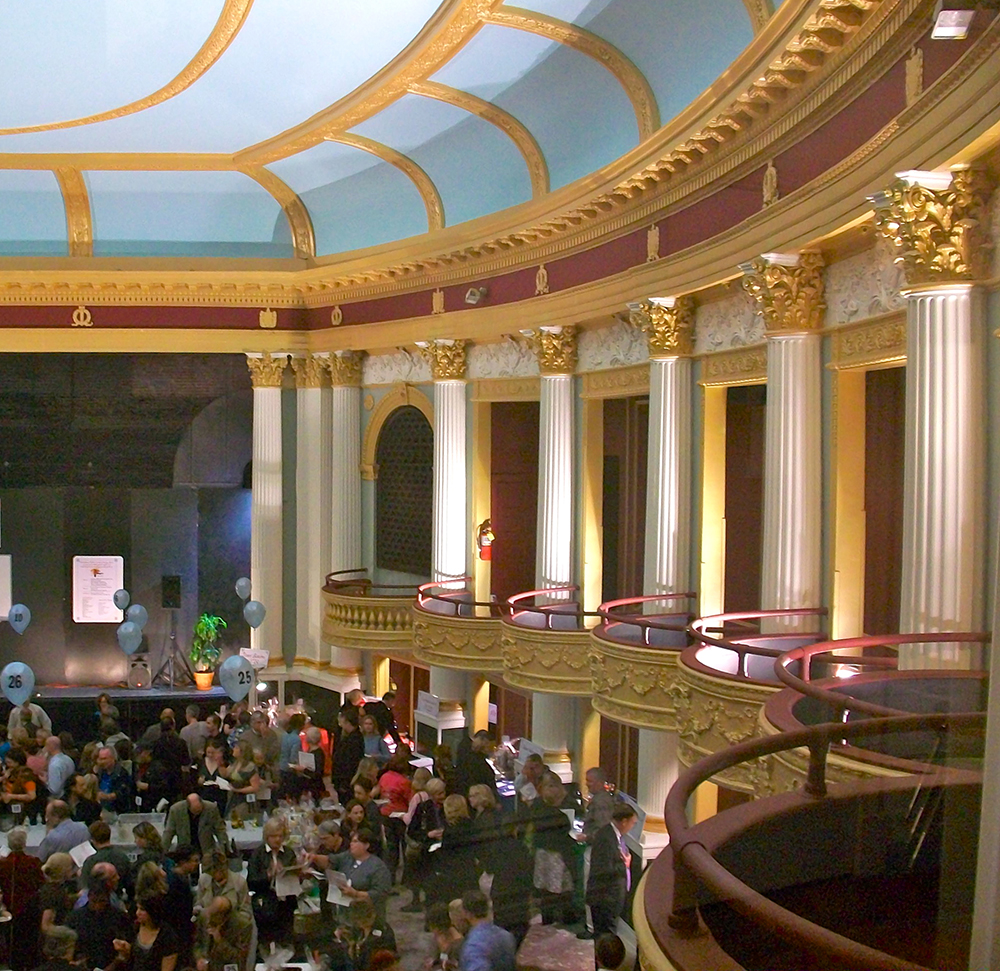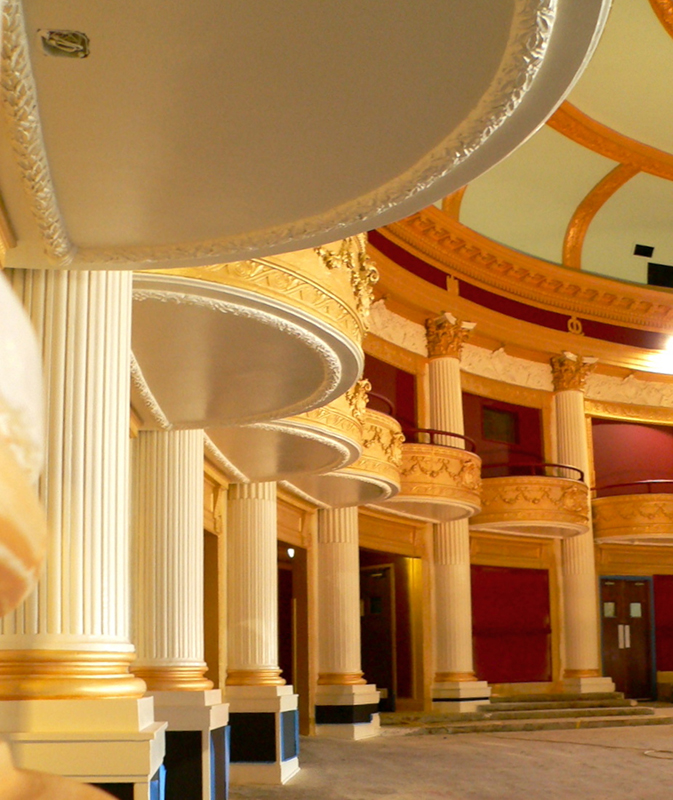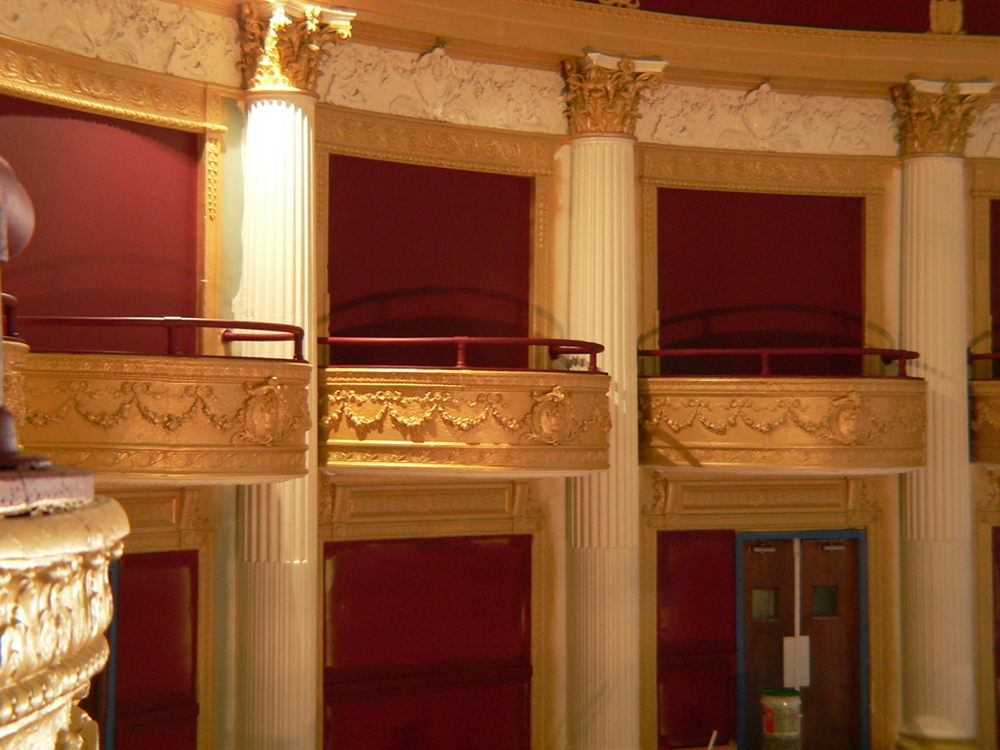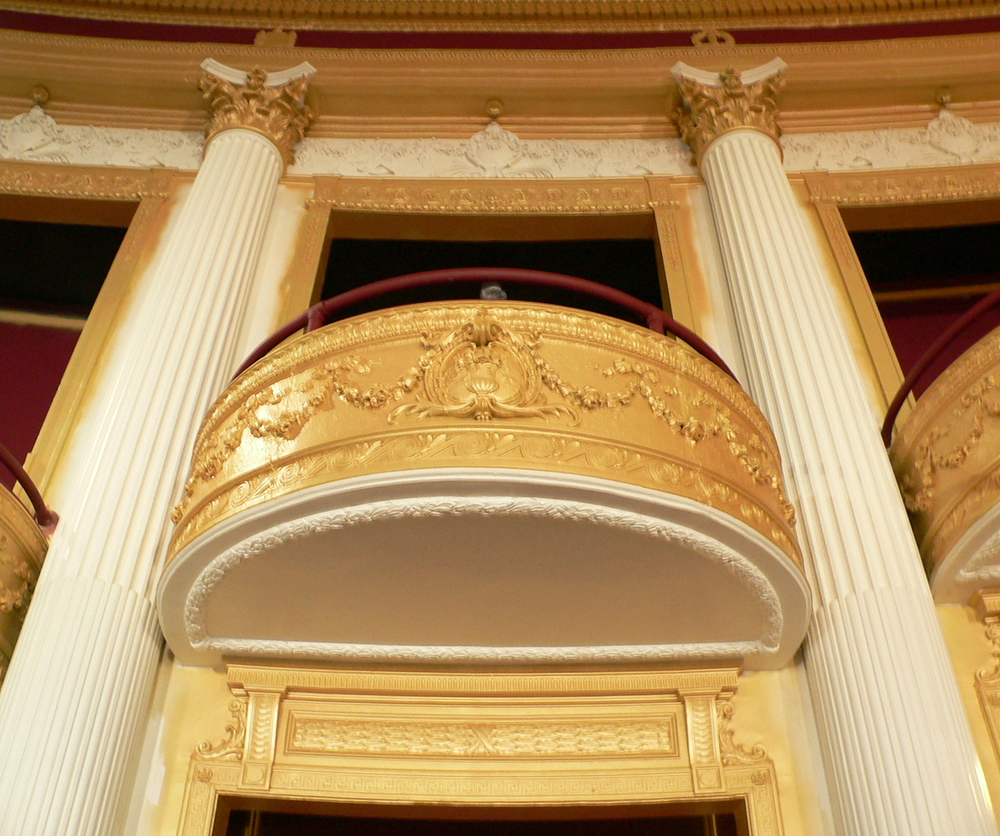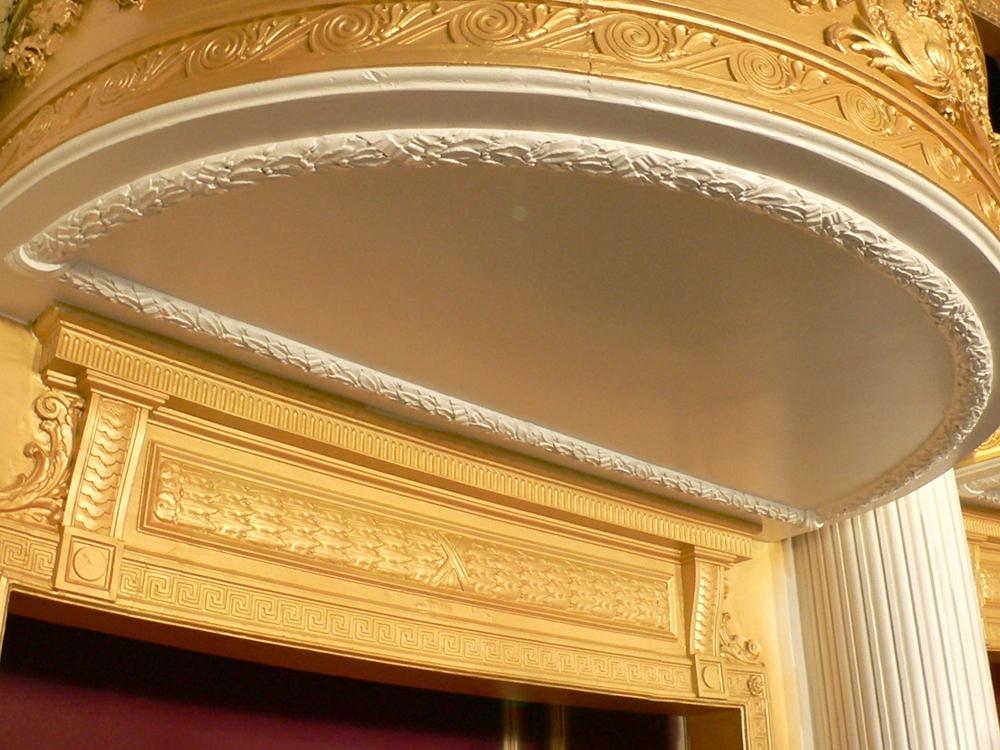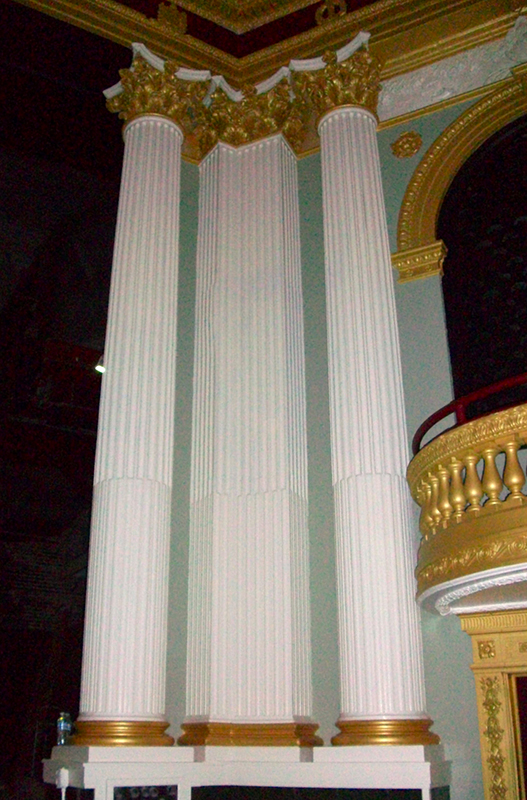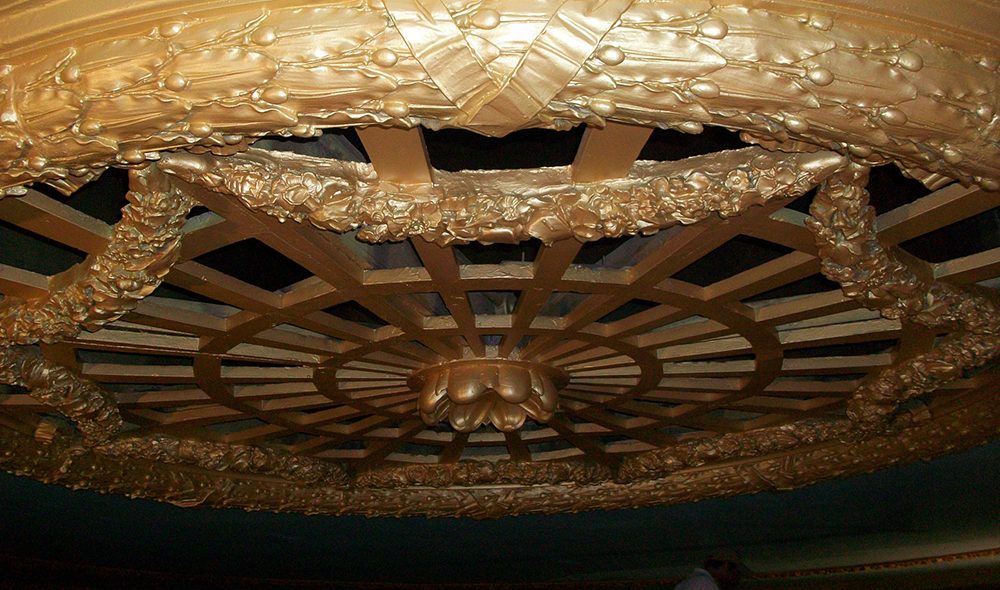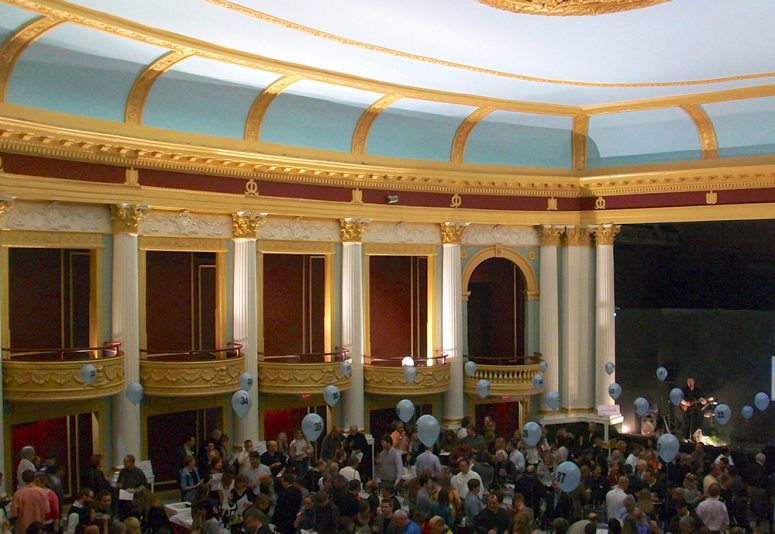
Historic Orpheum Auditorium Restoration
Champaign, IL
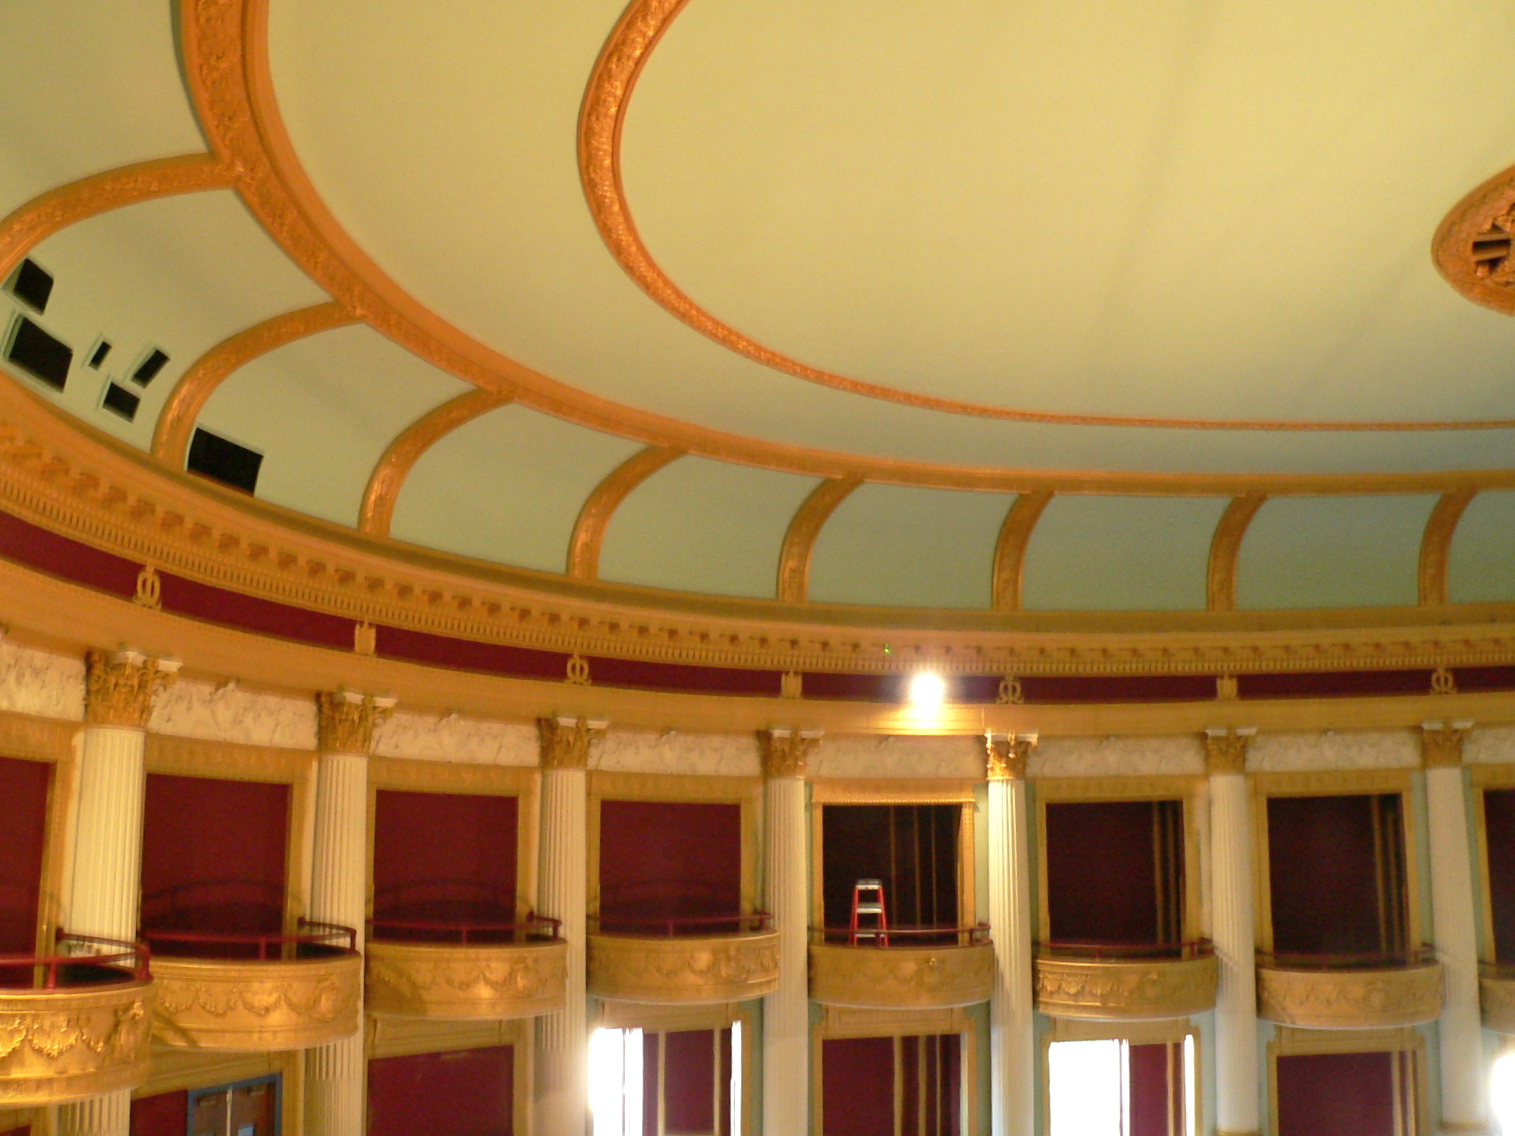
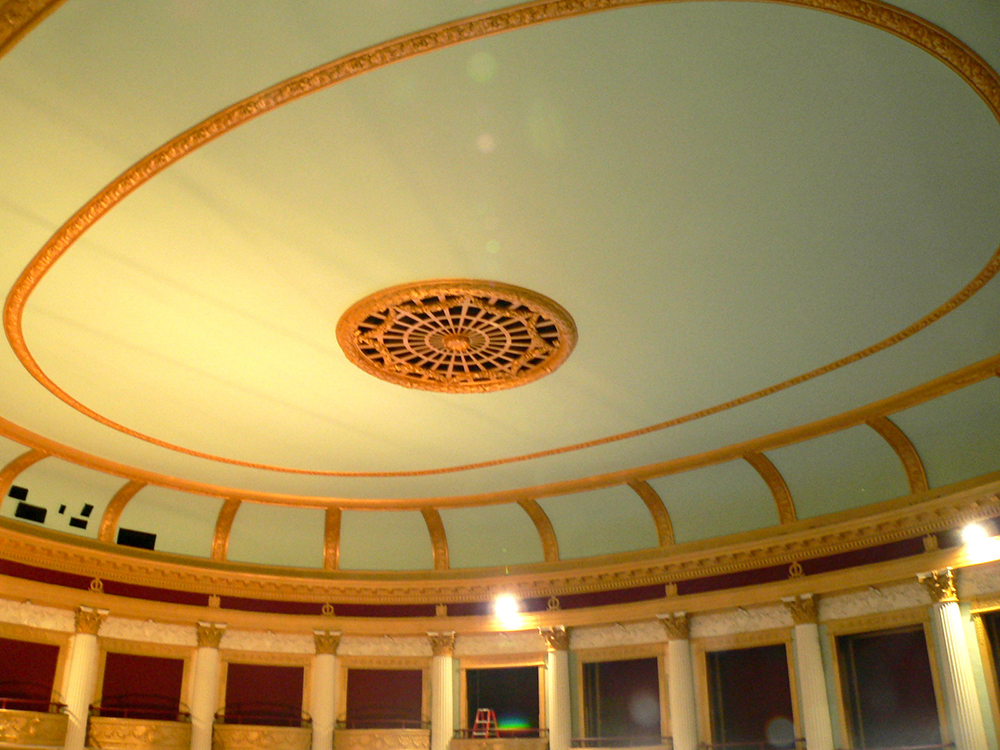
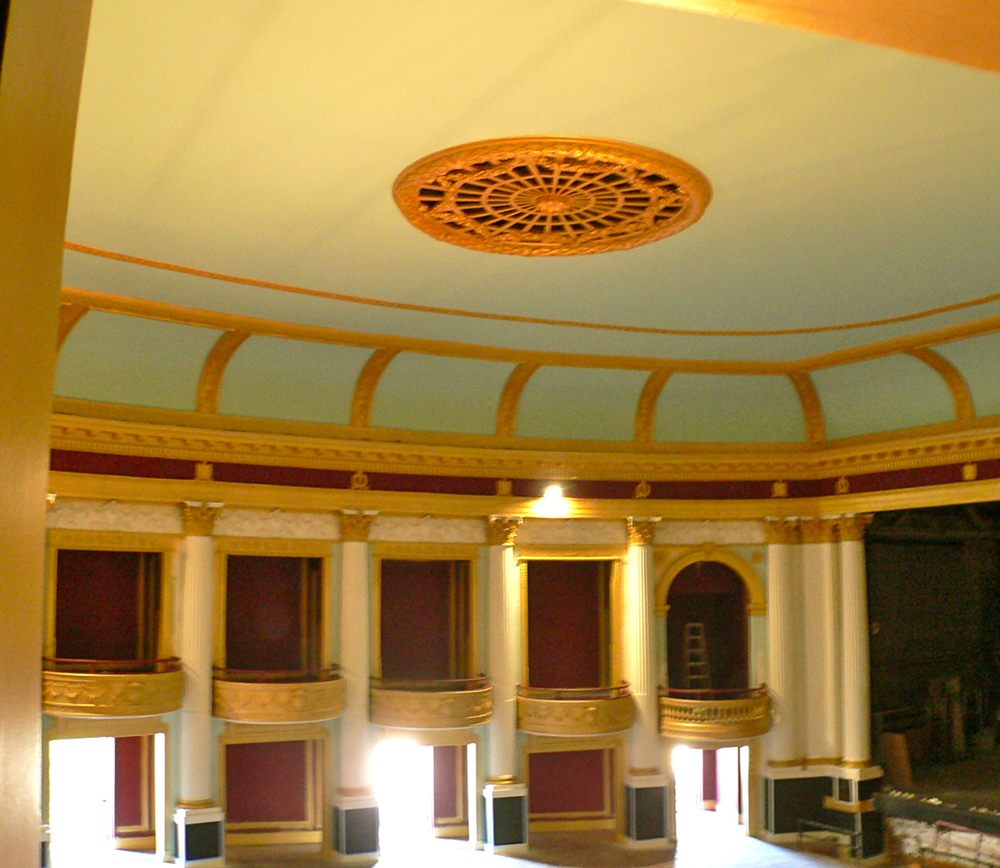
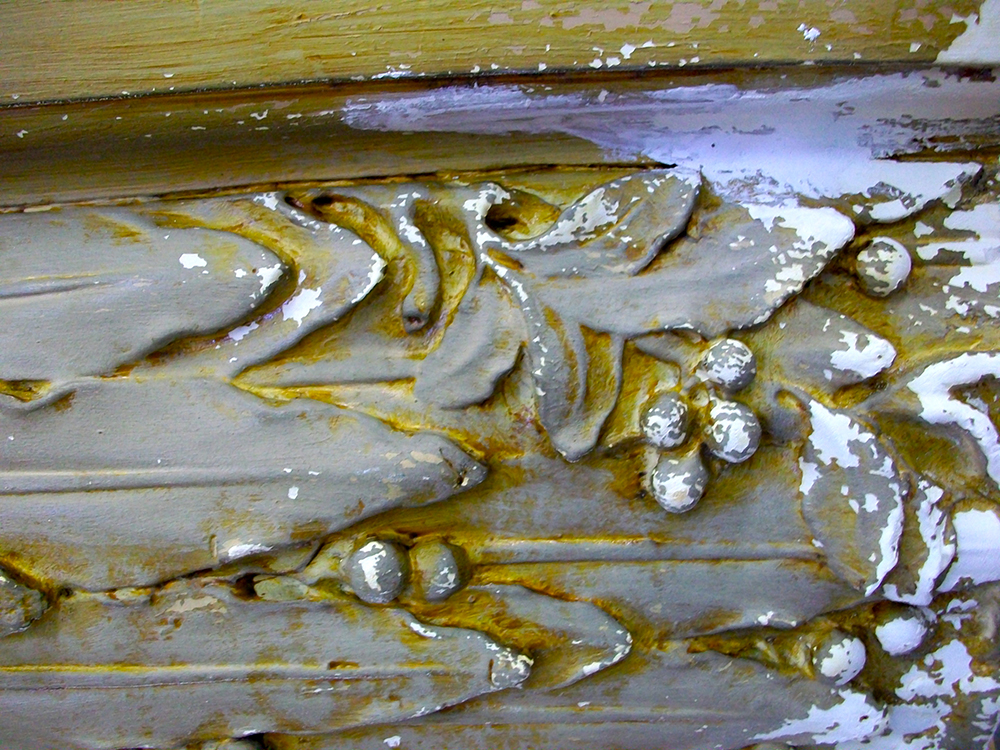
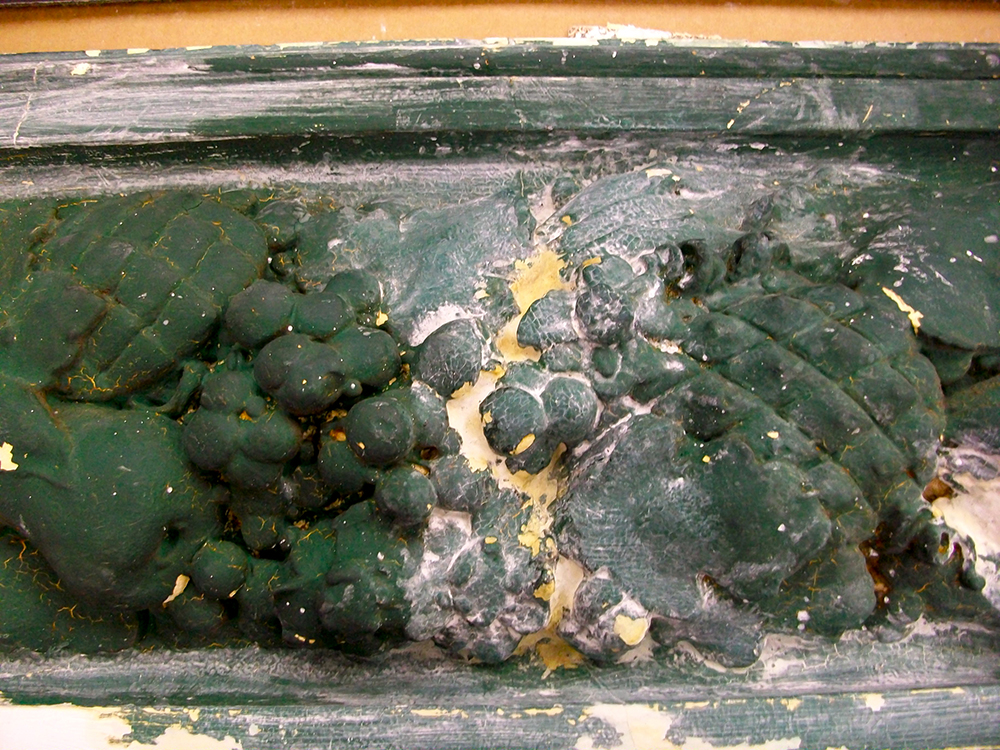
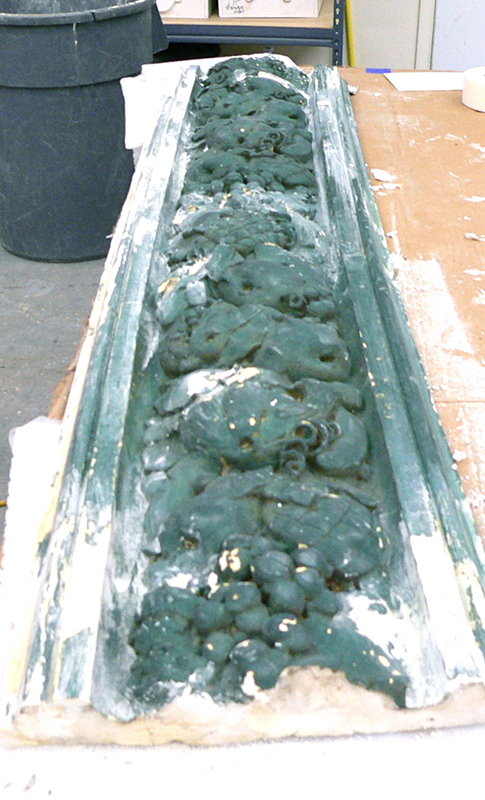
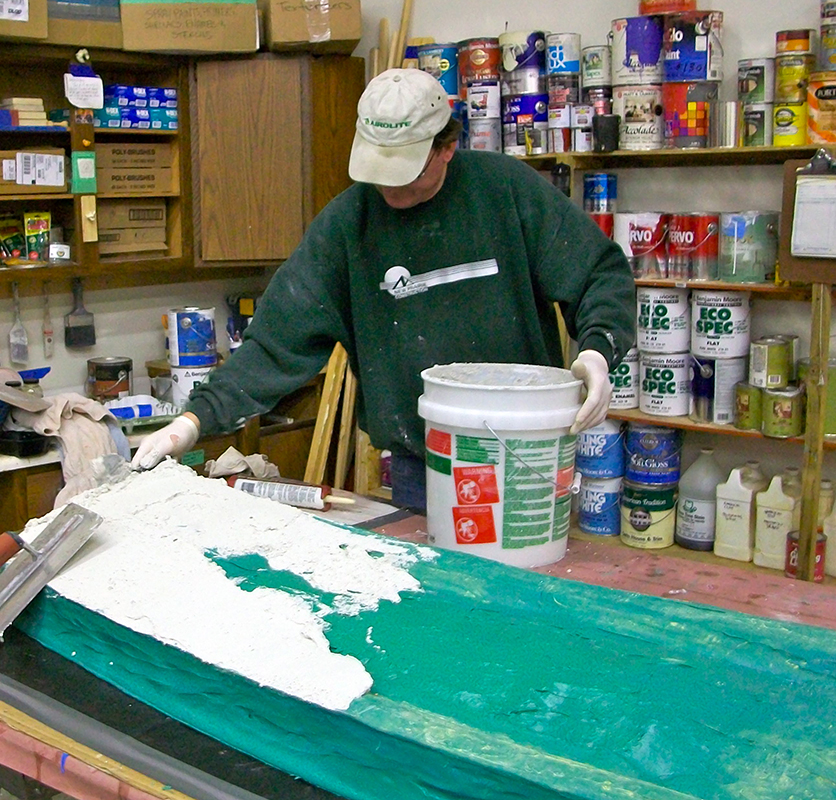
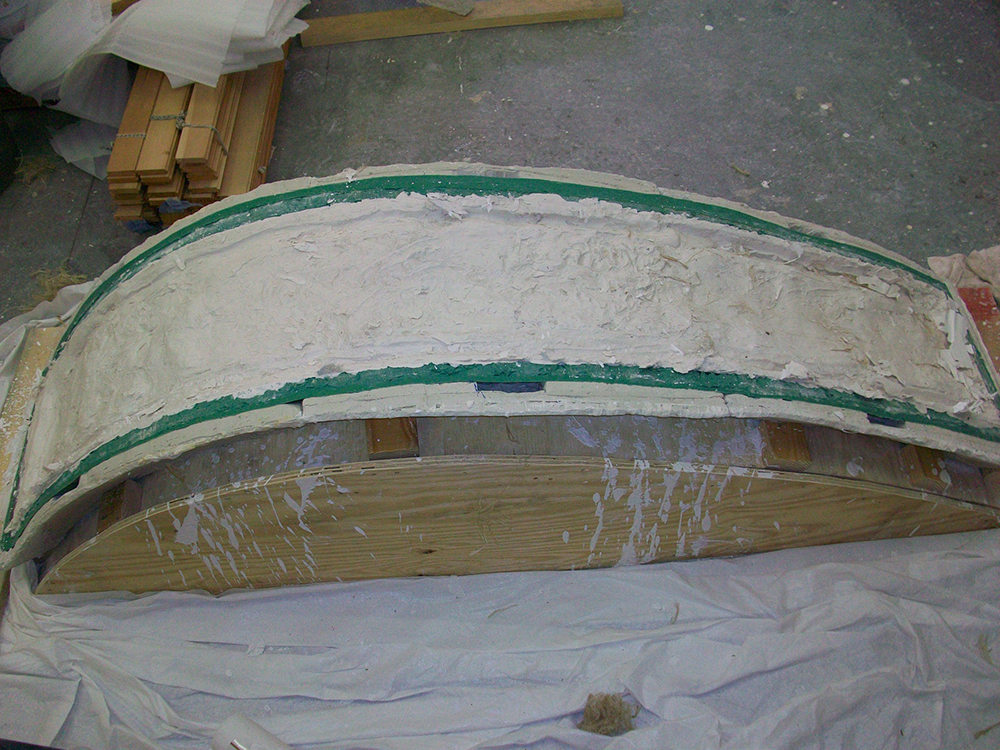
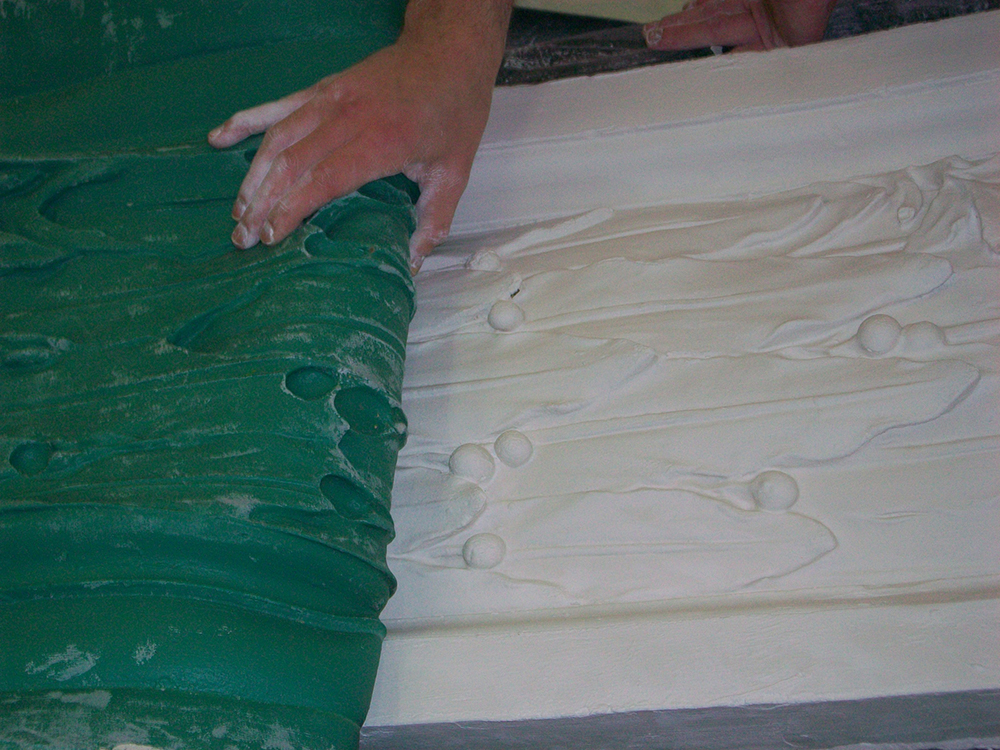
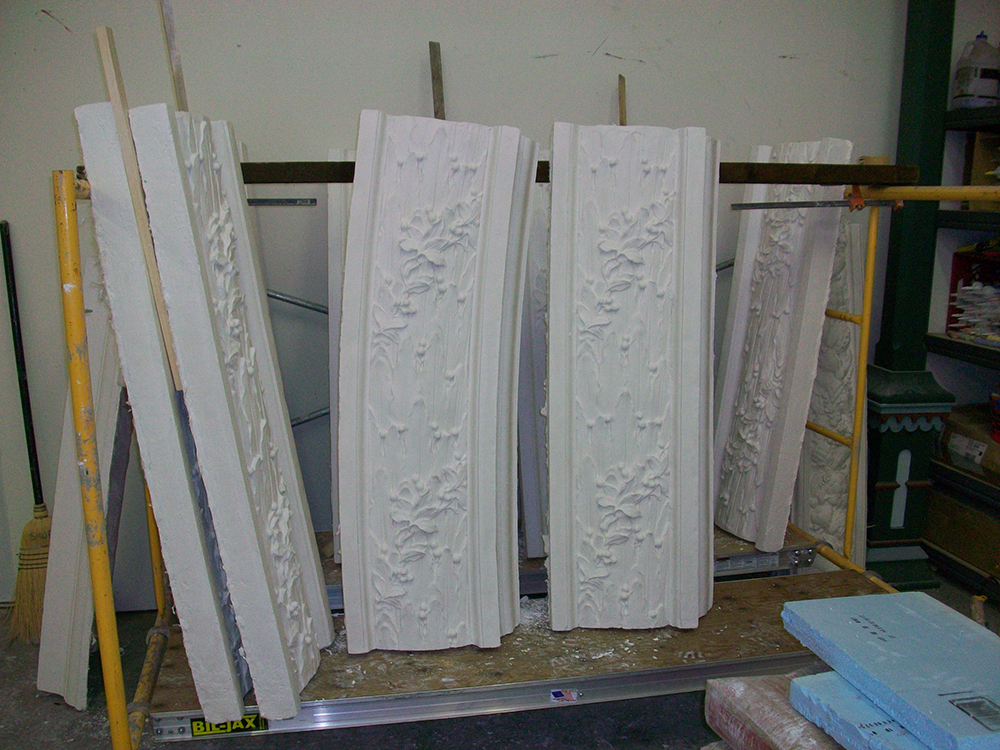
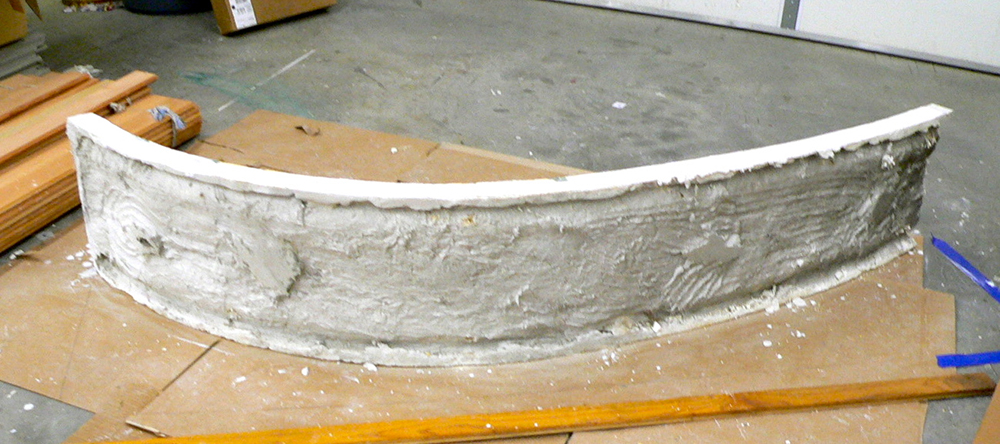
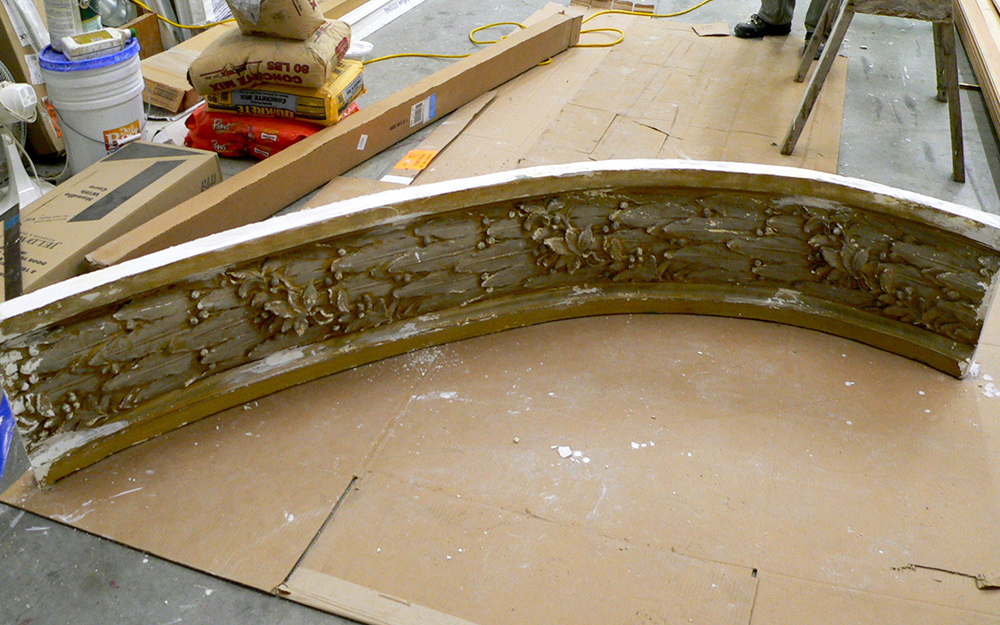
*Landmark Heritage Award Winner* The New Orpheum Theatre opened its doors on October 14, 1914. Ninety-five years later, in October of 2009, a fundraising wine gala was held to celebrate the restoration of the auditorium.